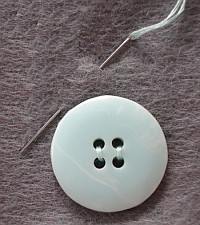
 I suspect that many of us think of buttons as something simply designed to keep clothing on our bodies. When we think of sewing with buttons, we generally think of the picture to the left – simply following the holes provided to attach the button to the fabric.
But, when you have special heirloom buttons or buttons you find particularly beautiful, why not create a piece of art with them?
This beautiful button from Lots of Buttons is called Tama. It was originally designed to be used in a way similar to what I’ve shown. But, as pretty as it is, it can be made far more interesting with a bit of embroidery, beads and imagination.
I know, there’s nothing all that new about stringing buttons to create jewelry, making embroideries with buttons and even making button trees. For the most part, those applications primarily relied upon the button to provide color. The beauty of the button itself is often secondary.
When I was given the opportunity by the folks at Lots of Buttons to pick out a selection of their buttons in exchange for a crafting tutorial, I was feeling like a kid in a candy store. I knew fairly early what I wanted to do but selecting shapes, sizes and colors of buttons led me to spending days on their site looking for just the right combination to make art with. By adding beads, wire, embroidery and through much trial and error, I ended up with this (sadly my photography skills aren’t a match for my embroidery skills):
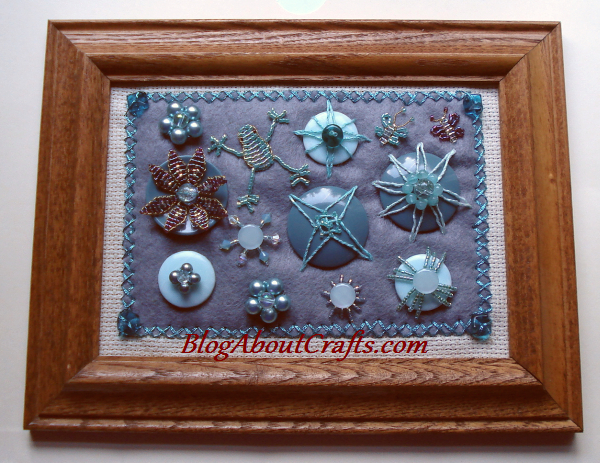
I used several Tamas, Palmas and Honeydew Joi buttons from Lots of Buttons. The Palmas had eight holes which made them quite fun to work with and provided inspiration tion for a number of different ways to embroider them to my piece. Please visit my tutorial on Beautifying Buttons to learn more about what I did with the Palmas.
The Jois were indeed a joy to work with. These small shank buttons are generally a pretty greenish-blue color but they also 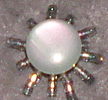 have a wonderful iridescence that I found somewhat elusive to photograph. You can see the shimmer in two of the pictures that follow. The third picture shows the pretty greenish color these buttons also have.
Working with shank buttons in embroideries and other crafts can be a challenge – it’s virtually impossible to get them to stand up straight without cutting off the shanks, pushing the shank through the fabric or building up some sort of base to support the button.
In this tutorial, I’m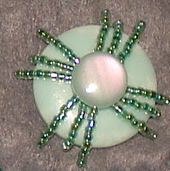 going to share how I used Delica seed beads to create a support structure for my shank buttons. Delicas happen to have the same diameter as the height of the shank of the Jois and were perfect for my project. Depending upon the height of your shank button, you may need to use a larger bead to achieve the same results.
Sew the button on first to ensure that the beads do not slide underneath the shank itself. Once the button is firmly stitched onto the fabric or the top of a larger button, begin embroidering your beaded design to build the base.
As you can see above, I used a Tama button as a base for one of the Jois. The seed bead platform for the Joi was built on top of the Tama using four groups of three strands of strung beads.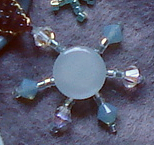
The two Joi buttons on the right were attached directly to the fabric. Again, I used seed beads to provide a platform for the buttons to stand upon. One was designed to look a bit like a sun and the other was inspired by snowflakes but the options here are limited only by your imagination.
Hopefully, my embroidery and this little tutorial will get you seeing buttons as more than spots of color and digging out your beads and other buttons to create your own embroidered button art.